Title
Create new category
Edit page index title
Edit category
Edit link
API Playground
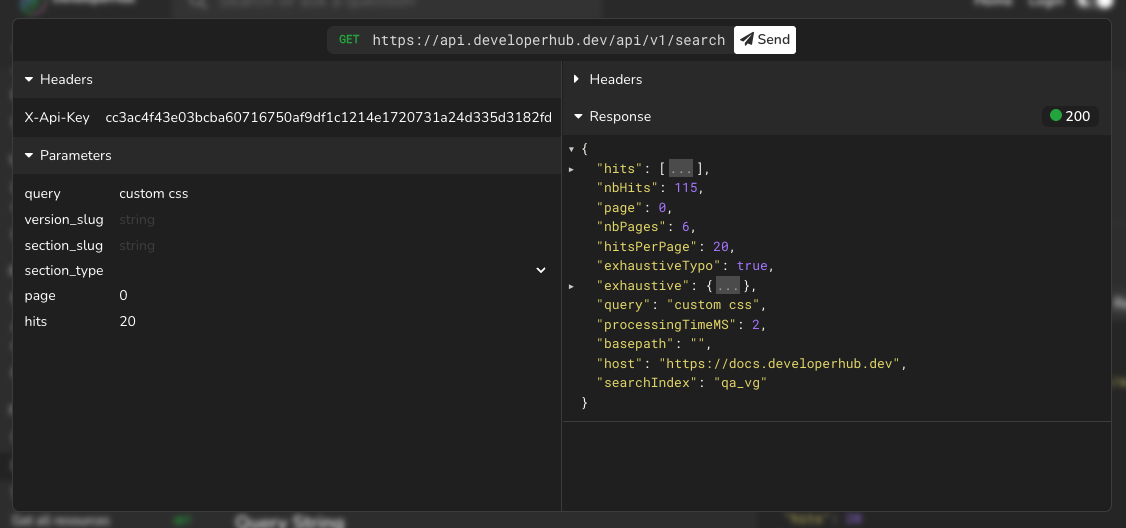
Cut development time and have your readers try out your APIs right from the API Reference with an API playground.

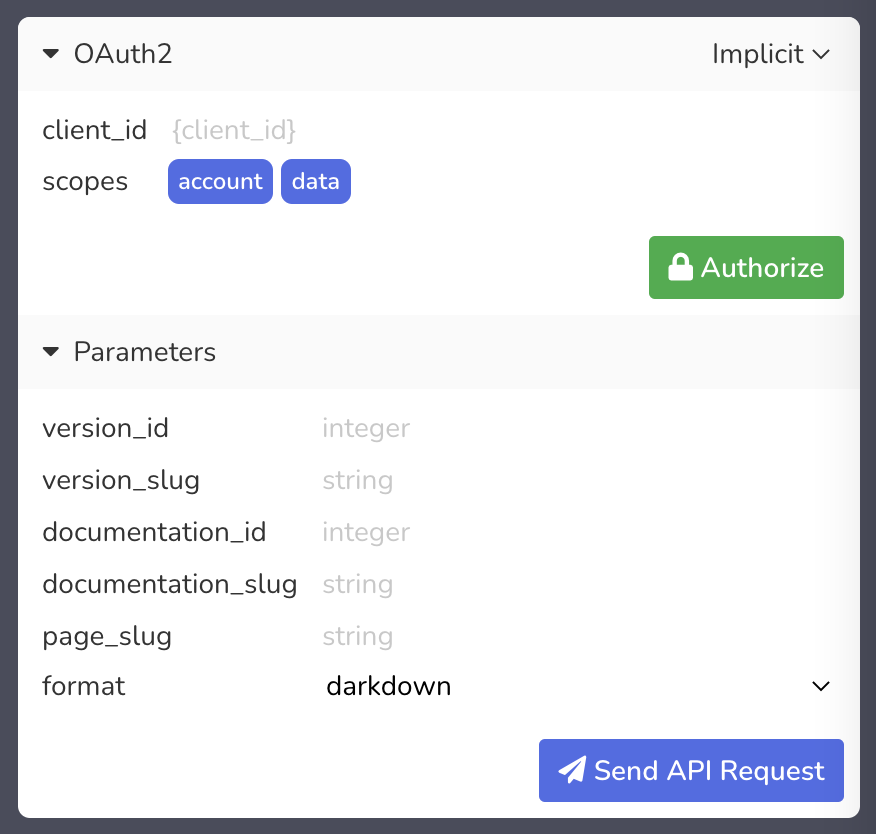
With Try It Out, all headers, query parameters, form data, and request body fields are pre-populated with examples that you provide in the OpenAPI spec. Readers can modify the fields and make an API request directly from the API Reference. Headers and parameters are validated against their type, and enums are shown if available. Users can initiate OAuth 2.0 flows right from the API reference to get access tokens.
The response of the API request will be shown, with the status code. Readers can hover over the status code to see the response headers.
Prerequisites to Enabling Try It Out
Before enabling try it out, there are two external configurations that you must perform:
- Set up the CORS headers for your docs domain. All requests are made from the browser directly, so you must set up the CORS headers to allow the docs domain to make requests to your API. The CORS headers should allow the docs site origin to make any HTTP request, with all headers that you might expect to send, and to expose all headers returned. The CORS headers response should look as such:
Access-Control-Allow-Origin: your.docs.com # change to your docs site originAccess-Control-Allow-Methods: GET, POST, PUT, DELETE, OPTIONS, PATCHAccess-Control-Allow-Headers: Authorization, Content-Type, AcceptAccess-Control-Expose-Headers: *Access-Control-Max-Age: 86400- (Optional) Set up your OAuth2 client to redirect to our redirect URL. If your API uses OAuth2 and you wish for the reader to be able to generate a token from the API playground directly, then you must add our redirect URL to your OAuth2 client. See OAuth 2.0 Authentication.
Enabling Try It Out
To enable try it out for an API Reference, check Show Try It Out in the API Reference settings
Try It Out Support
Try It Out is supported for all API operations except:
- Responses that do not have a JSON or plain text media type.
- Requests that upload files.
All requests are made from the browser directly, so you must ensure that the API returns the correct CORS headers for your docs domain.
Personalising Authentication Values
To personalise authentication values, such as in the header and query string, please contact us.
OAuth 2.0 Authentication
To allow OAuth 2.0 authentication inside the API playground, you must add the following redirect URL to your Auth2.0 client settings:
https://<docs-site>/$reader-oauth2
For example:
https://docs.developerhub.io/$reader-oauth2.
Once this is set up, you may enable OAuth 2.0 Authentication by checking Show OAuth2 Authentication in the API Reference Settings

If you want to allow OAuth 2.0 authentication in the editor as well, then you must add the following redirect URL: https://app.developerhub.io/$reader-oauth2. However, this must not be used on a production API.
Custom Interceptors
Custom Interceptors allow you to modify a request before sending it. This can be useful if, for example, you need to add digital signatures. Custom interceptors are middleware written in javascript.
How to set up Custom Interceptors?
To set up custom interceptors:
- Edit Custom HEAD Tags.
- Add a script that registers every custom interceptor needed using
window.registerCustomInterceptorfunction.
Function: registerCustomInterceptor.
Returns: Nothing.
Arguments: Function - function(data, next). Where data has the following definition:
{ api: { // Read-Only id: number, slug: string }, verb: string, // API verb (GET, POST, DELETE, PUT or PATCH) - Read-Only url: string, // Example: https://api.example.com/pet/dog body: string, // Most probably the JSON request body, stringified. headers: {[key: string]: string}, // Header key-value params: {[key: string]: string} // Form data or query string key-value}And next is a function that must be called once per custom interceptor, providing the modified data as an argument, to pass to the next custom interceptor.
Custom Interceptor Examples
- Has no effect. Only logs the data:
window.registerCustomInterceptor(function (data, next) { console.log('Custom Interceptor', data); next(data);});- Adds a new header:
window.registerCustomInterceptor(function (data, next) { data.headers['x-header'] = 'y-value'; next(data);});- Modifies form data:
window.registerCustomInterceptor(function (data, next) { if (data.params['x-param']) { data.params['x-param'] = 'y-param'; } next(data);});- Modifies JSON body only on a certain API reference:
window.registerCustomInterceptor(function (data, next) { if (data.api.slug !== 'test-api') { return next(data); } var body = JSON.parse(data.body); body['name'] = 'Apu the monkey'; data.body = JSON.stringify(body); next(data);});Troubleshooting
Request Failing
If the request fails with message "Request failed (Unknown Error)" and status 0, then ensure that CORS headers are setup correctly. You can confirm that this is the issue by checking your browser's DevTools. Such an error would show in Chrome DevTools: Access to XMLHttpRequest at '<url>' from origin '<url>' has been blocked by CORS policy: Response to preflight request doesn't pass access control check: No 'Access-Control-Allow-Origin' header is present on the requested resource.
No Response Headers
If response headers are not getting sent, ensure that your API is returning Access-Control-Expose-Headers: * header which allows the browser to read the response headers.
Need help? Visit our community forums or contact us.