 Made in DeveloperHub

DeveloperHub supports the following customisations: UI , CSS, Footer, theme (dark mode), code theme, logos, header colour, link colour, font and navigation links.
Custom CSS and Footer
Check Custom CSS, and Custom Footer pages.
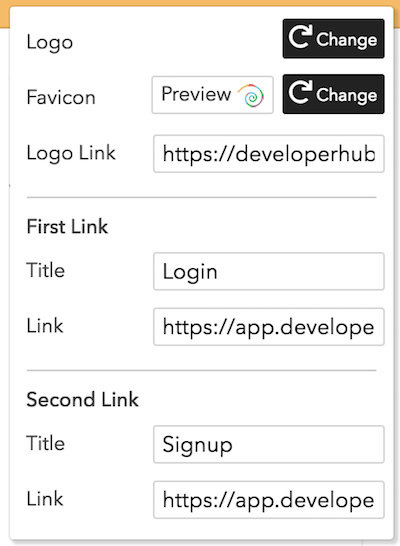
Changing Logo
To change the logo:
Open Project Settings → Customisation.
In the Brand assets card, click Upload logo next to Logo.
Choose the new logo.
Matcha's transparent top bar shows your logo on the page colour, which is near-black in dark mode. If your logo does not read on dark, click Upload logo next to Logo for dark backgrounds and choose a version for dark mode. Left empty, the regular logo is used in both modes.
You can also change the URL which is navigated to when the logo is clicked on.
It is best to have a wide logo with transparent background.
To change the website icon (favicon):
Open Project Settings → Customisation.
In the Brand assets card, click Upload favicon next to Favicon.
Choose the new favicon.
We automatically rescale your favicon if it was too big. Note that the favicon only shows on live mode, and not in the editing mode.
Logos and favicon are saved automatically on change without prompt.
Changing UI
DeveloperHub provides three UIs: Original, Next and Matcha.
Original UI
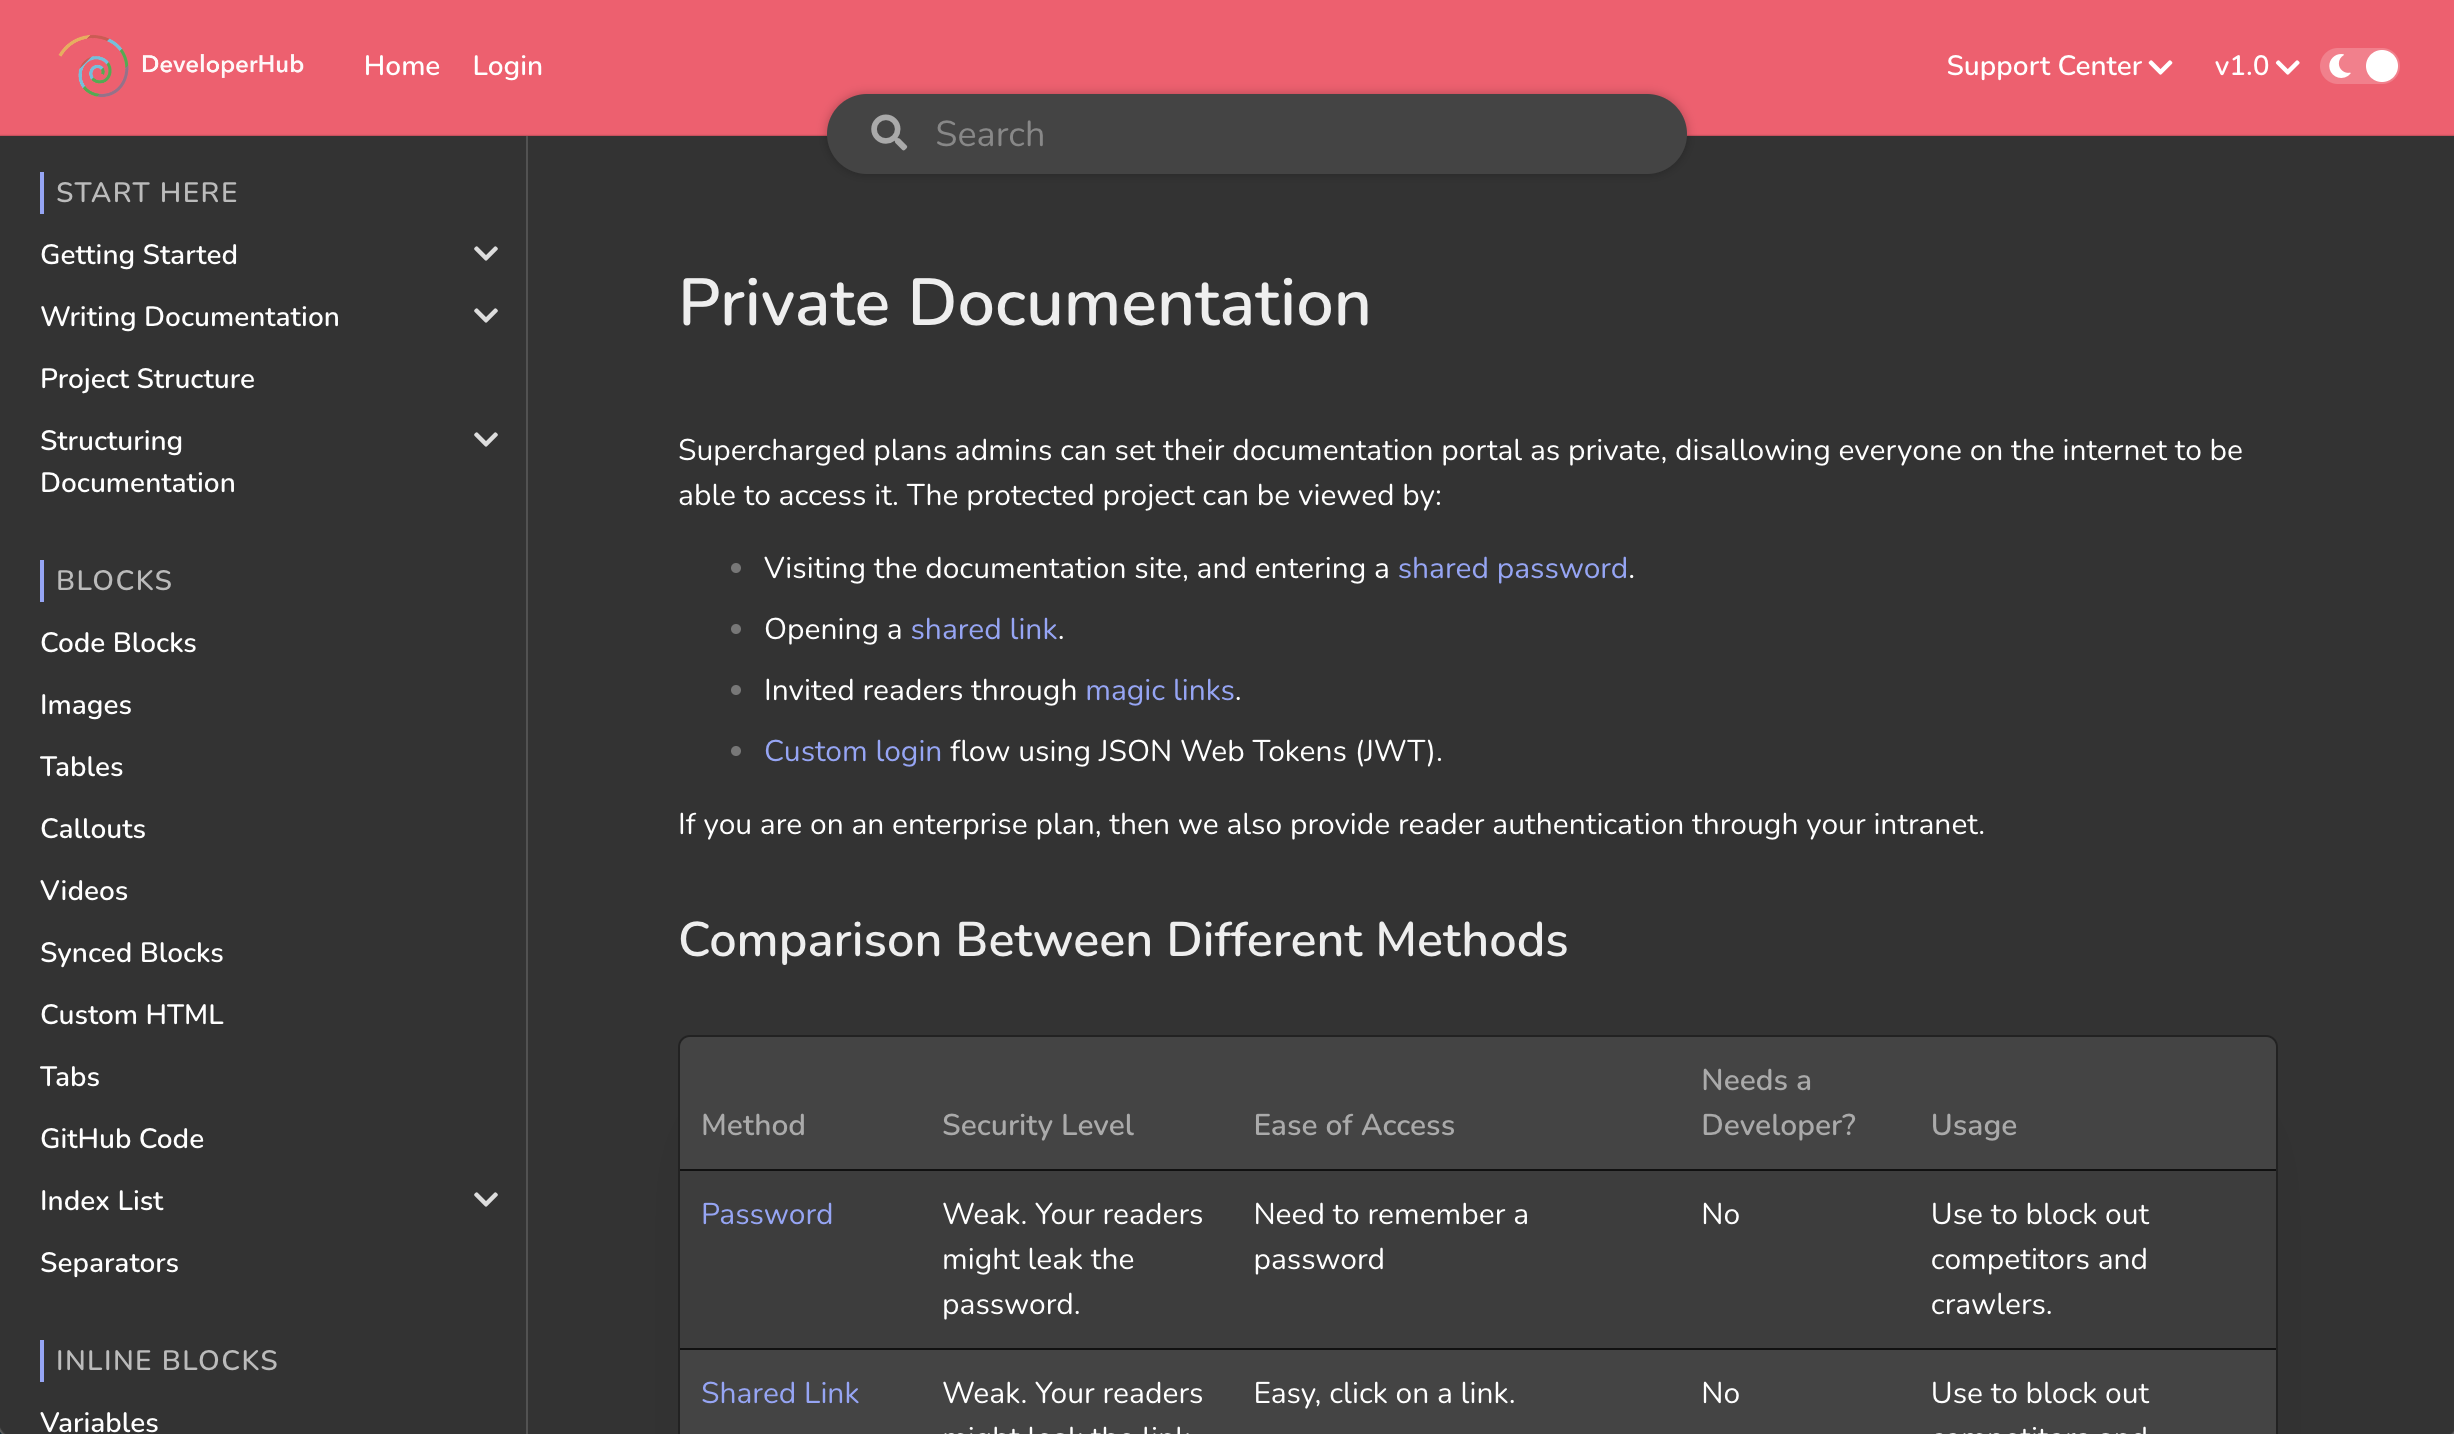
Original UI is the first UI of DeveloperHub, notable for its hovering search bar. The different sections and version are hidden behind dropdown, and the index has coloured categories.
Next UI
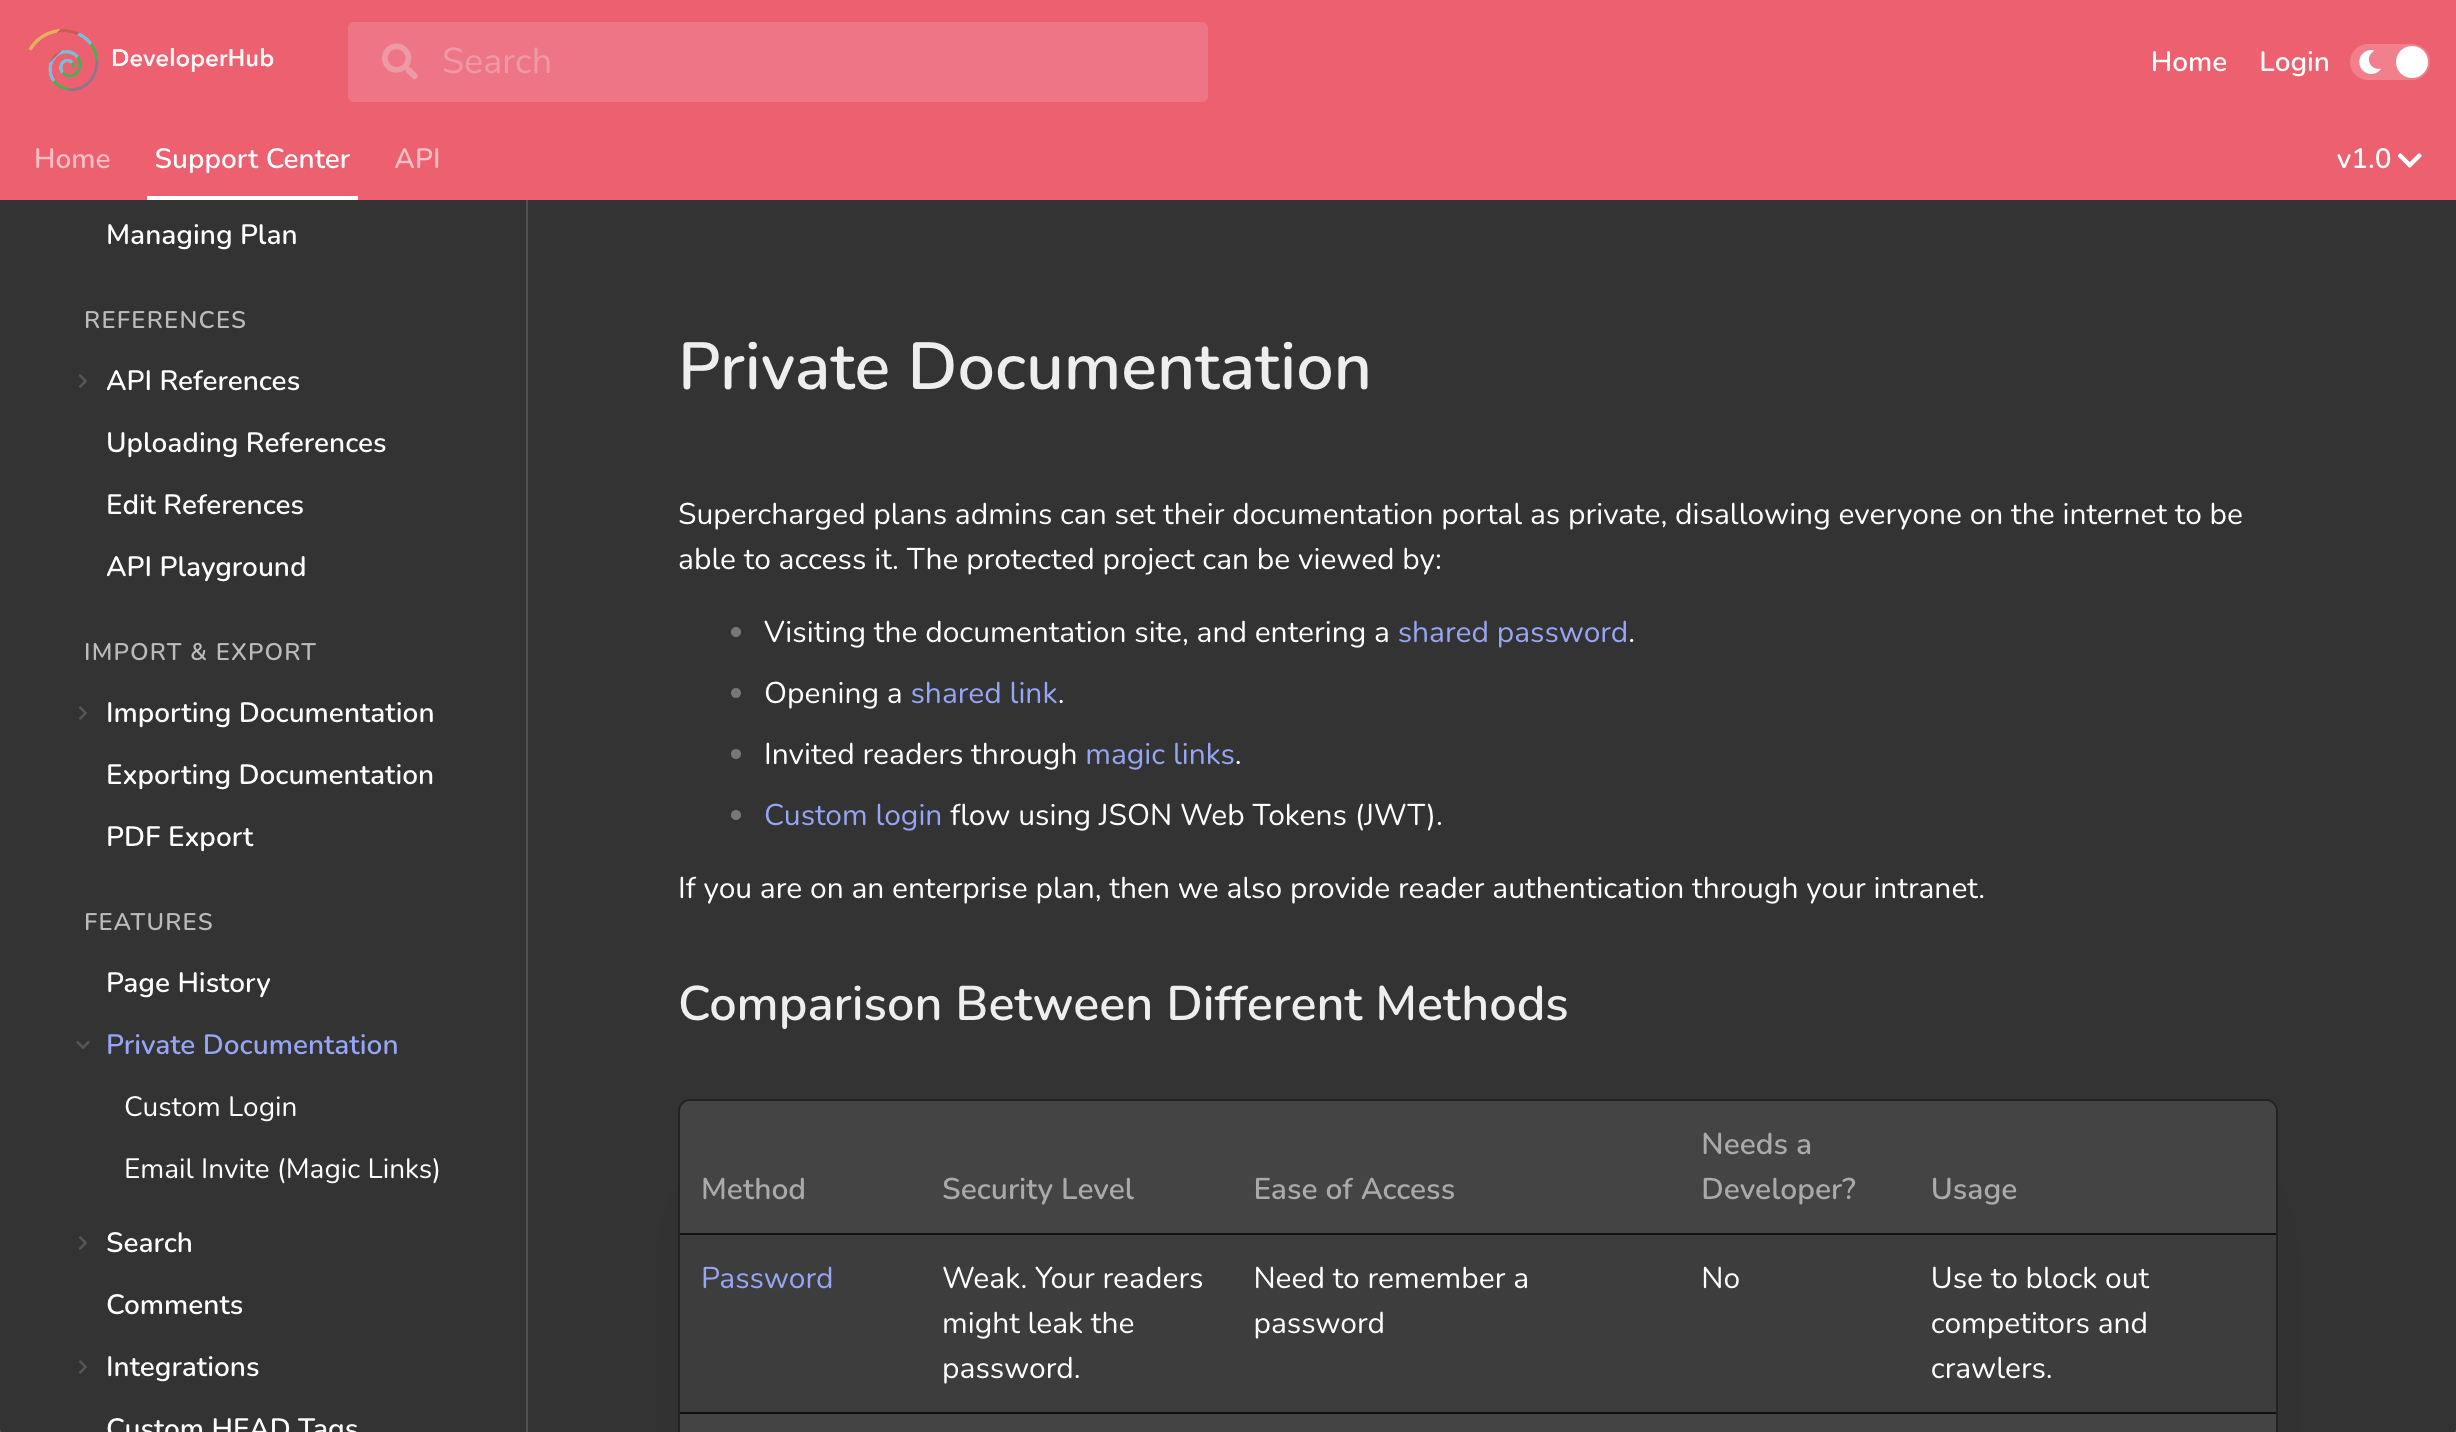
Next UI is the new UI. Next UI features a sleek design where different sections are visible in the top navigation, and a redesigned index with clearer margins and animation. It also providers a better search experience.
Matcha UI
Matcha is Next restyled, with a one-row top bar and a tree index. Unless you have chosen a font, it uses IBM Plex Sans. New projects start on Matcha.
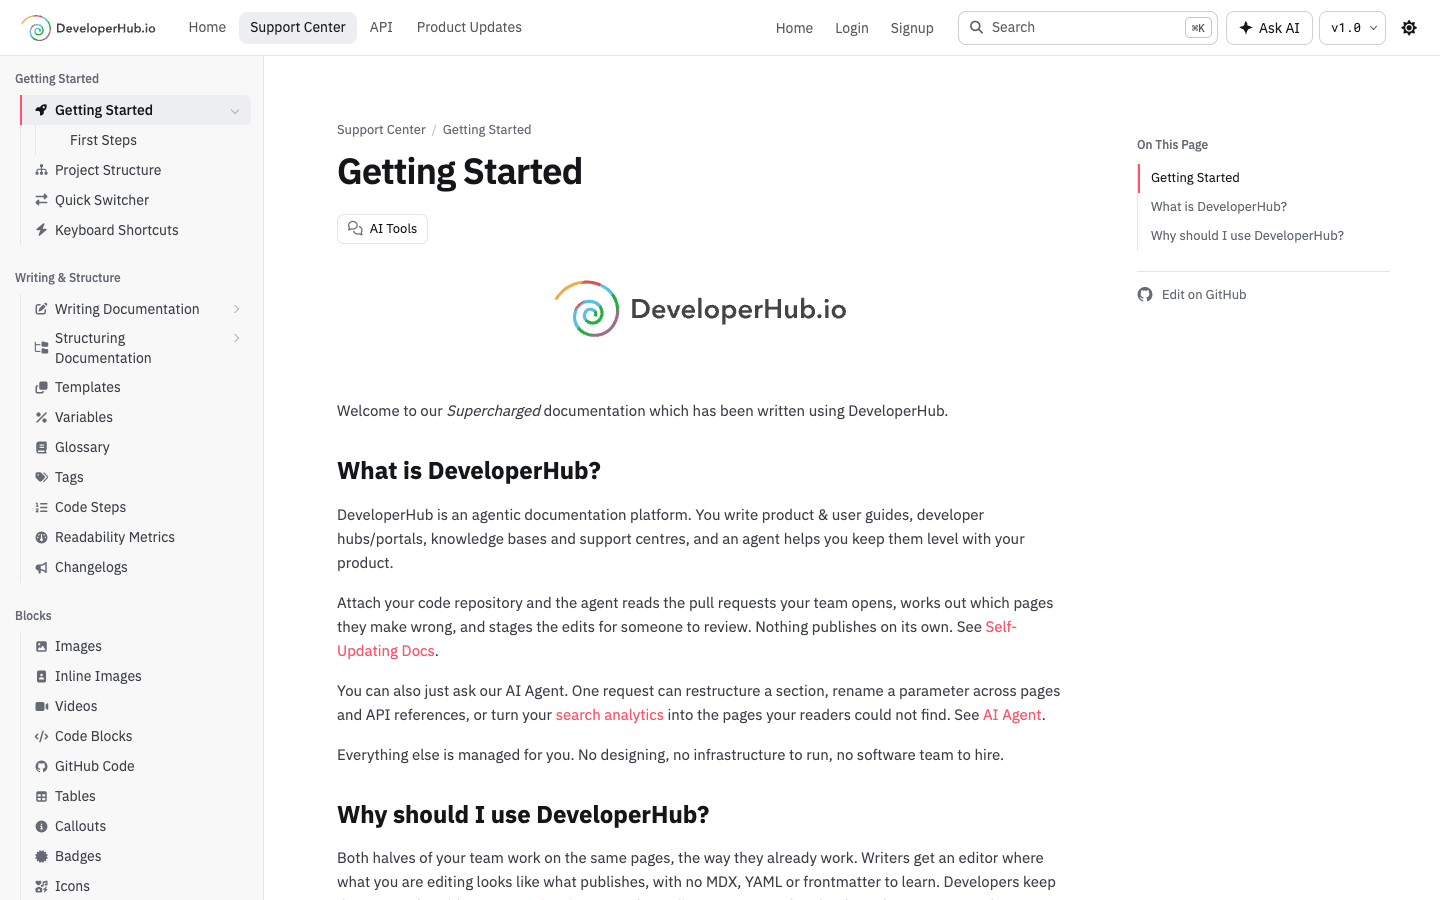
Transparent Top Bar
On Matcha, the top bar can take the page colour (white in light mode, near-black in dark) instead of your header colour:
Open Project Settings → Customisation.
In the Colour & typography card, switch on Transparent top bar.
Click Save changes in the top menu.
Give it a logo for dark backgrounds so your logo still reads in dark mode.
Choosing a UI
To change the UI:
Open Project Settings → Customisation.
In the Look and feel card, under UI version, choose Original, Next or Matcha.
Click Save changes in the top menu.
If you have custom CSS, check it against the new UI before switching. Add ?ui=3 to the address of any page of your published docs to see it in Matcha (?ui=2 for Next), without changing anything for your readers.
In Next and Matcha, the different sections are laid out in the top navigation bar. On Matcha, sections that do not fit move into a More menu at the end of the bar. In mobile layout, they collapse into a section picker dropdown.
Removing DeveloperHub Branding
Published documentation carries the DeveloperHub name: a Powered by DeveloperHub credit at the foot of each page, or a logo under the index on the free plan. You can publish without it:
Open Project Settings → Customisation.
In the Look and feel card, switch on Remove DeveloperHub branding.
Click Save changes in the top menu.
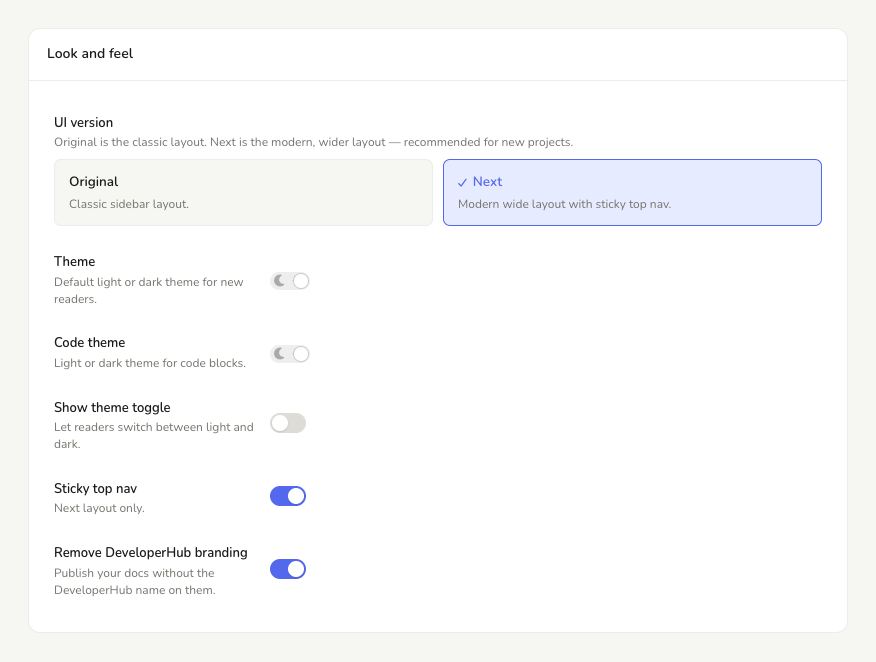
Removing the branding needs a plan that includes it. See Pricing.
Changing Colours
The header, link and navigation colours are modifiable. To change the colours:
Open Project Settings → Customisation.
In the Colour & typography card, click the swatch next to the colour you want to change.
Pick the desired colour. We will warn you if the colour is not contrasting enough. The change previews live in the embedded reader preview at the top of the pane.
Click Save changes in the top menu.
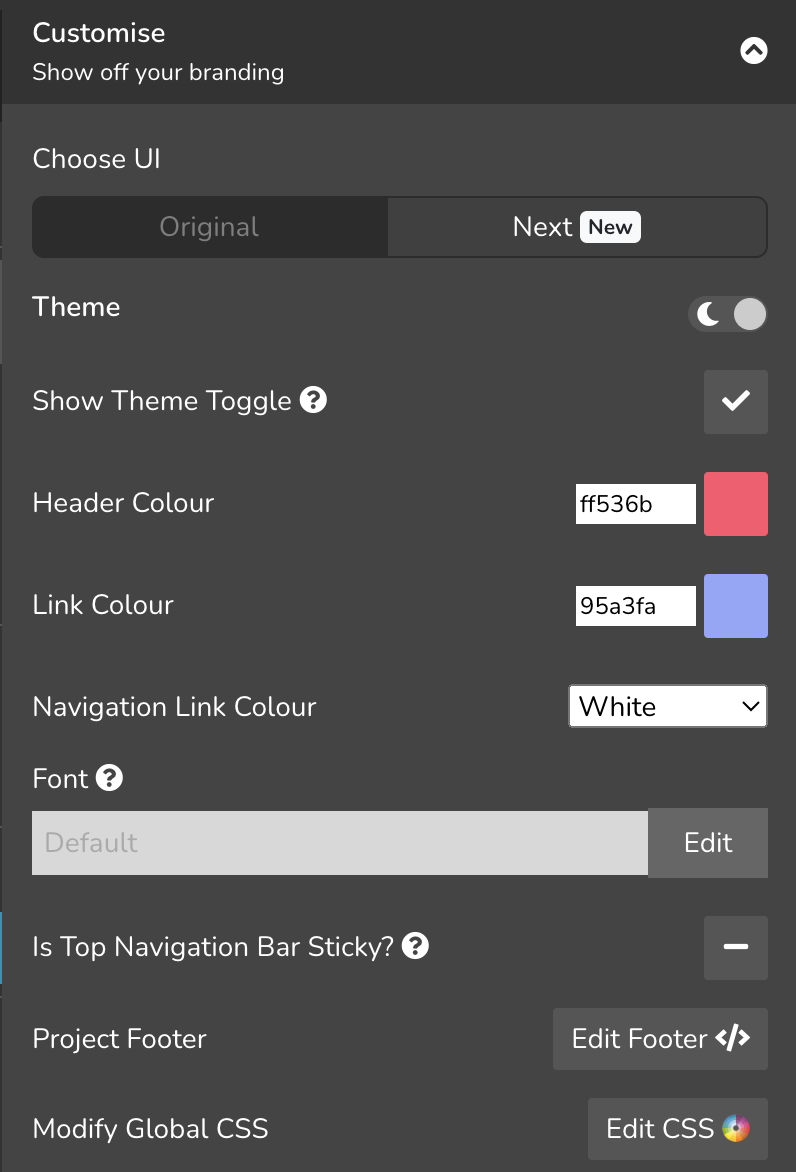
Make sure to set the link colour distinct from the font colour. This is usually your secondary brand colour. The text in your pages is almost black in light theme (white in dark theme), so you need a colourful link for it to be distinguished.
Changing Font
To change the font of the entire project:
Open Project Settings → Customisation.
In the Colour & typography card, click the Font row.
Choose from the list of Google Fonts available. The font is previewed immediately in the current documentation and the embedded reader preview at the top of the pane.
Click Save changes in the top menu.
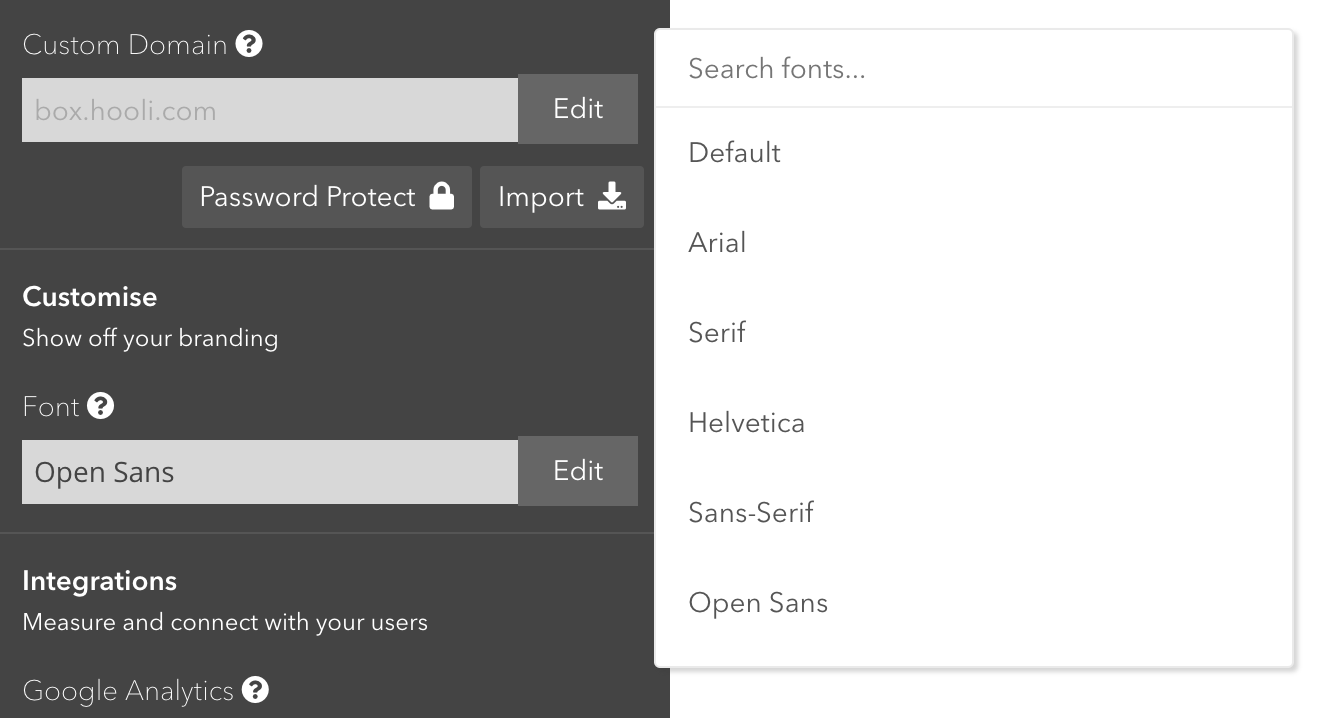
Changing font is only a paid plan feature
If you are not using Google Fonts, you can serve your own font to your documentation portal as described in our own blog post: Using your own Custom Font
If the font you are using does not have all the font weights we expect, then you can change the actual font weight for an expected one. See Font Weights.
Need More Customisation?
Check also our popular customisations.
Let us know what you need, we'd love to help!