Custom login for readers on DeveloperHub is provided using JSON Web Tokens (JWT). By using JWT login:
- You control who has access to your docs without having to share a global password/link.
- You can personalise the docs to the logged in reader.
- You control when the access expires.
How JWT Login works
When JWT login is enabled, the flow of login would be as such:
- The reader would either land on the docs site unauthenticated and be redirected to the login URL, or they start from your own website to get to the login URL.
- When they get to the login URL, your backend servers would sign a JWT token using an API Key that has
access.writepermission, construct a URL containing the JWT token, and redirect the reader to it. The URL is the URL of your docs site. - When the reader tries to access the docs site unauthenticated with the JWT token in the URL, our backend servers will verify the token and create an access token with the expiry defined in the token. The reader can now access the docs site.
- When the reader access token expires, they no longer can access the content, and would be redirected again to the login URL where this process repeats.
We do provide the URL which the reader tried to access in a query param called redirect. Your servers may read this query param and use it as the redirect URL instead of the landing page of your docs.
How to enable JWT Login
To setup JWT login on DeveloperHub, follow these steps:
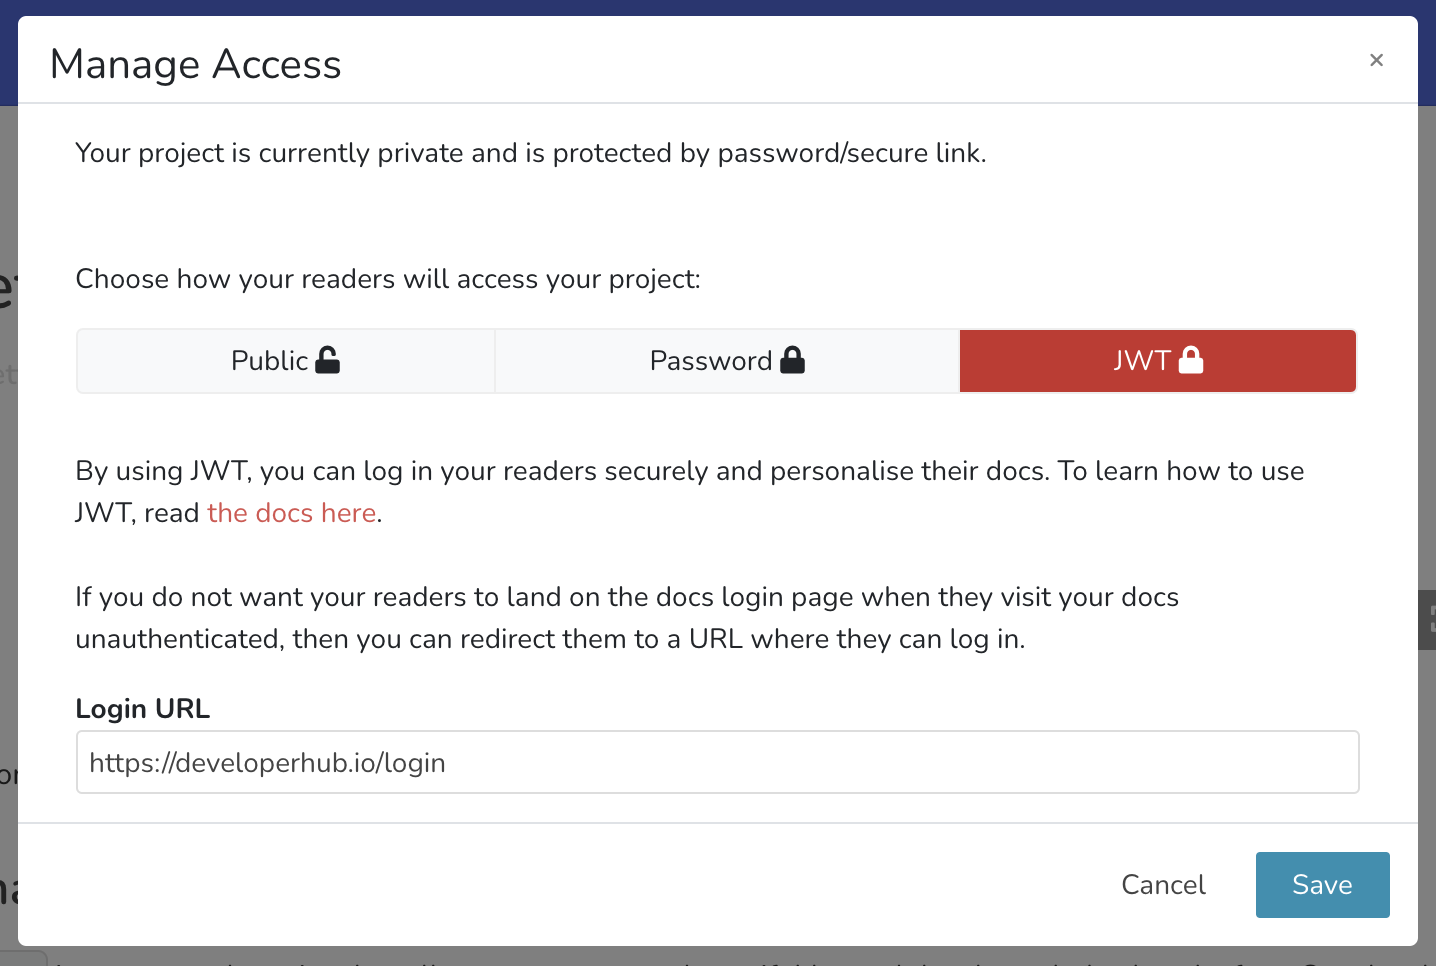
- From the sidebar, choose Project Settings
. - Under General Settings, choose Make Private (or Manage Access).
- Select JWT.
- Provide a login URL, read more about login URL here.
- Click Save.

Signing JWT
To authorise and authenticate access to your docs site, you must sign a JWT token using an API Key that has access.write permission. First, ensure that you have the API Key generated. The supported signing algorithms are HS256 and HS512.
There are numerous libraries for most programming languages for signing JWT, see jwt.io for details,
Example code to sign the JWT:
const sign = require('jsonwebtoken').sign;const apiKey = '689c3ce8e7c68b7c7f86acca6a028e6f8656eb792b19a334f8e3f2a56ca8f561';function getSignedDeveloperHubUrl() { const docsUrl = 'https://docs.pied-piper.com'; // Your docs site URL. It may be a URL to a specific page or API Reference. const payload = { version: 1, // Controls the version of custom login. Do not remove. vars: { // Personalise documentation by injecting variables here if needed userId: 1234 }, error_redirect_url: 'https://pied-piper.com' // Optional: Redirects to this URL on error }; // Place here any variables you want to inject to personalise the docs. const expiresIn = 24 * 60 * 60; // Expiry, preferably 1 day, the shorter the more secure. Expiry must be defined. const token = sign(payload, apiKey, {expiresIn: expiresIn}); return `${docsUrl}?jwt=${token}`;}Once the URL is generated, you may redirect your reader to the generated URL to provide them access to the docs.
The vars object in the JWT payload is used to evaluate content audiences for conditional content. Variables are matched against audience conditions to determine which content is visible to each reader.
To sign a JWT, you need an API Key with access.write permission. The API Key is a secret and it should never be shared online.
For easy access, you can also generate a JWT directly from the Manage Access window by clicking on "Generate JWT" and selecting the expiry value.
Example Express App
An example express app which you may use:
const express = require('express');const app = express();const sign = require('jsonwebtoken').sign;const port = 1234;const apiKey = '689c3ce8e7c68b7c7f86acca6a028e6f8656eb792b19a334f8e3f2a56ca8f561';function getSignedDeveloperHubUrl(url) { const docsUrl = url || 'https://docs.pied-piper.com'; const payload = { version: 1, vars: { user: { id: 1234, name: "John" } } }; const expiresIn = 24 * 60 * 60; const token = sign(payload, apiKey, {expiresIn: expiresIn}); return `${docsUrl}?jwt=${token}`;}app.get('/login', (req, res) => { res.redirect(getSignedDeveloperHubUrl(req.query.redirect));});app.listen(port, () => { console.log(`Reader login app listening at http://localhost:${port}`)});Limiting Access to One Device
To limit a single JWT token to give access only on one device, a unique jti may be added in the payload. For example:
function getSignedDeveloperHubUrl(url) { const docsUrl = url || 'https://docs.pied-piper.com'; const payload = { jti: require('uuid').v4(), version: 1, vars: { user: { id: 1234, name: "John" } } }; const expiresIn = 24 * 60 * 60; const token = sign(payload, apiKey, {expiresIn: expiresIn}); return `${docsUrl}?jwt=${token}`;}In this example, a UUID was used to provide uniqueness for the jti parameter, but any random sequence can be used.
If the same JWT was used to access a project again, the reader would be denied access and shown "Token has already been used" message.
Handling JWT Login Error
You can provide an error_redirect_url in the payload of your JWT. When an error occurs (because token expired or signature verification failed), the user will be redirected to that URL with a query param added dh_jwt_error containing the error message.